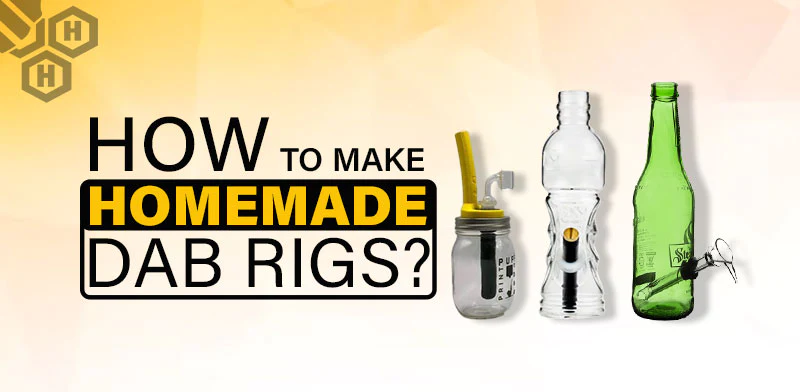
As the trend of dabbing keeps gaining traction, many enthusiasts are exploring ways to create their dab rigs. This DIY approach saves money and offers a sense of satisfaction in creating something of your own. If you're feeling a bit crafty, this guide will walk you through making your homemade dab rig.
Note: Before proceeding, please know that this guide is intended for informational purposes only. Always prioritize safety when using homemade devices.
Important Accessories of a Homemade Dab Rig
Prior to bringing your concept to life, it's crucial to familiarize yourself with the key components of this apparatus to ensure its optimal use. Additionally, unleash your creativity and challenge your innovative skills in its application.
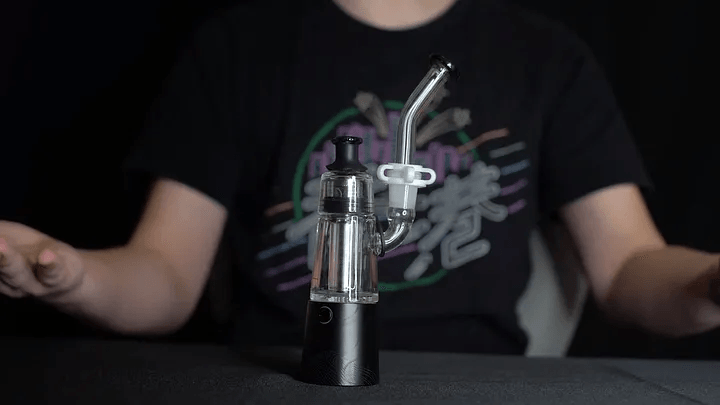
Bong/ Water Pipe
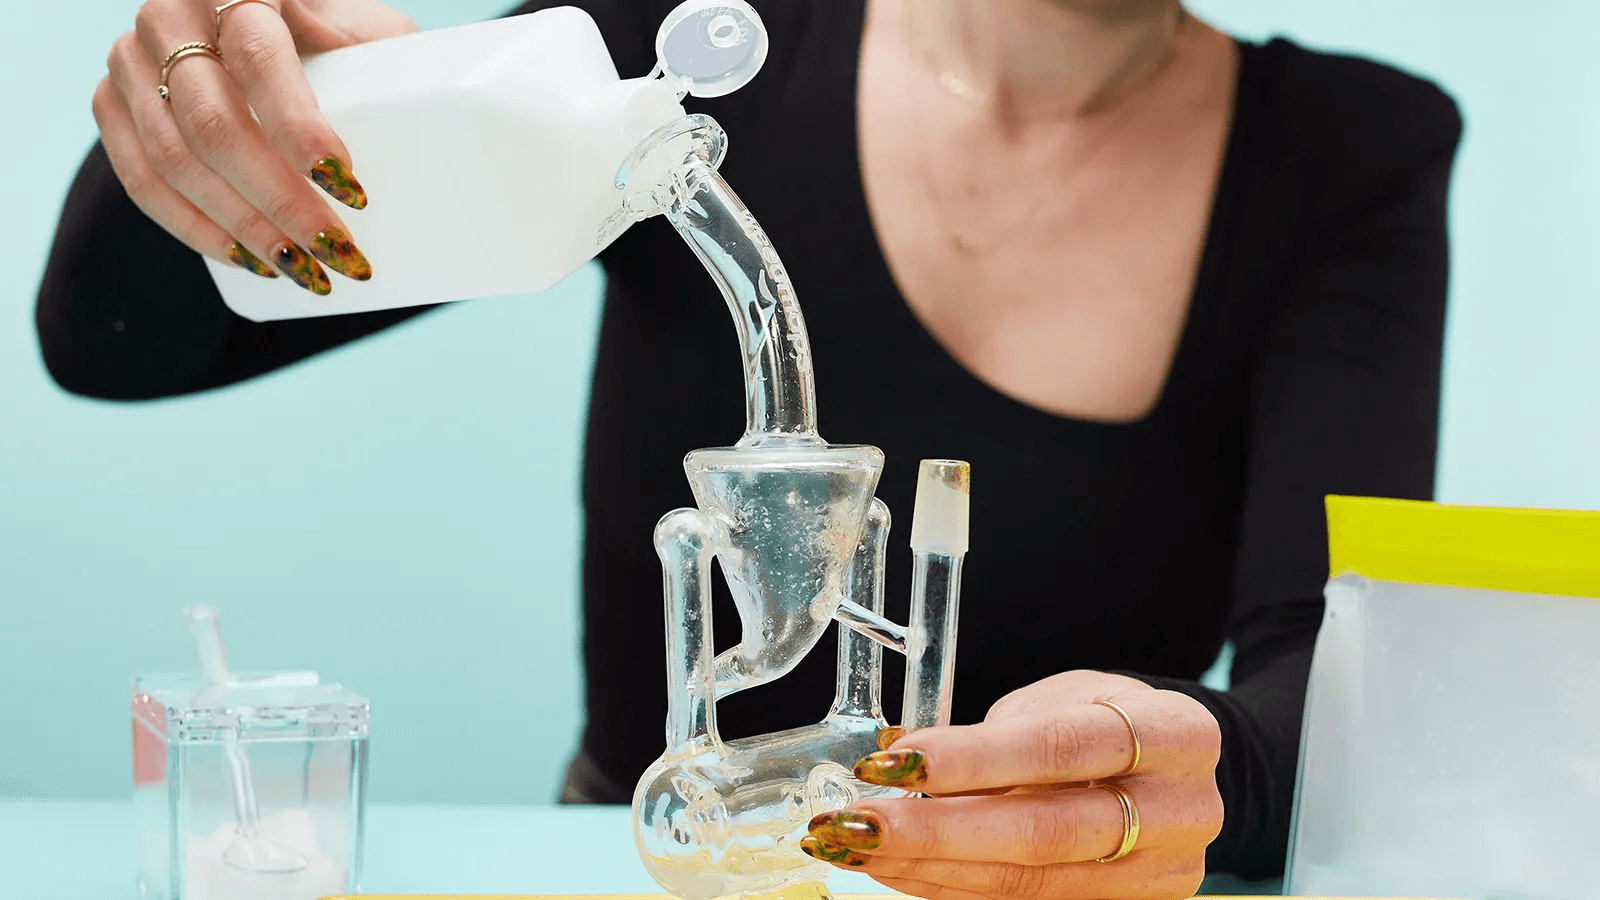
Regardless of its appearance, the prime consideration is that it should be of appropriate size to allow the vapor to flow into the chamber. Once it reaches your lungs, the vapor is purified and cooled.
Quartz Banger/Dab Nail
A quartz banger is a specific type of container designed to vaporize the product from its end. It comes in various forms, including elongated and electronic versions. The banger needs to be heated, so you can pick your preferred type.
Dab Tool
A dab tool is essential as it's used to load your product. Ideally, it should be made of metal to yield the best results.
Torch
A compact blowtorch is a must-have for dabbing. Its small size allows you to take it anywhere and enjoy a satisfying dab session.
Timer
It's important to time your quartz banger to monitor the cooling duration. Any timepiece with a second hand or the timer on your phone will suffice.
How to Make a Beer Bottle Dab Rig?

What You'll Need:
A glass bottle
A plastic tube or a hollow pen
A metal nail or a piece of metal that can withstand high temperatures
Rubber grommet
Torch lighter
Dabbing concentrates
These are the steps:
Step 1: Prep the Bottle
Choose a glass bottle to serve as your rig's base. The size will depend on your preference, but a medium-sized glass bottle typically works well. Clean it thoroughly and allow it to dry.
Step 2: Drill the Hole
Carefully drill a hole about one-third of the way up the bottle. This hole should be just large enough to snugly fit the plastic tube or hollow pen. Make sure the hole is smooth to prevent potential injury and ensure a tight seal.
Step 3: Insert the Tube
Insert the rubber grommet into the hole you've just drilled, then insert the plastic tube or hollow pen through the grommet. The tube should be at a roughly 45-degree angle pointing downwards into the bottle.
Step 4: Attach the Nail
Attach your metal nail (or heat-resistant metal piece) to the end of the tube sticking out of the bottle. This will serve as your "nail," where you'll place your concentrates. Ensure it's securely attached and won't easily fall off.
Step 5: Test for Leaks
Before using your rig, perform a quick leak test. Cover the top of the bottle and try to draw air through the tube. If you can't draw any air, you have a leak that needs to be sealed.
Step 6: Dab Away
Now your homemade dab rig is ready to use! Heat up the nail with your torch lighter, apply your dabbing concentrates, and inhale through the top of the bottle.
How do You Make a Dab Rig with a Plastic Bottle and a Hot Knife?

The method of using a hot knife is honestly not the best due to its high temperature and the potential for pain and danger, particularly for those who are clumsy. Nonetheless, give it a shot if you're in a tight spot, and it's your only option. Just ensure you upgrade your setup quickly, as using plastic for dabbing can pose serious health risks. The hot knife technique is a popular makeshift dab rig, particularly when glass or a torch isn't readily available.
Materials required:
A sturdy metal butter knife, preferably with a thick handle that doesn't rest flat on a countertop.
A paperclip or dab tool
A plastic water bottle, halved.
Scissors
An electric stove or torch
A silicon dab mat (optional)
Procedure:
Begin by halving your water bottle, keeping the top part that has the cap. Discard the cap.
Next, carve a small notch at the base of the bottle. This is where your heated knife will be inserted for dabbing.
Heat your butter knife on the electric coils of your stove or using a torch.
Place the heated knife on a flat or heat-resistant dab mat to prevent damage to your surfaces.
With a paperclip (or any other dab tool), apply your concentrate to the heated knife and carefully slide the notched plastic bottle over the top, ensuring the heated knife does not touch the plastic.
Finally, inhale the vapor through the bottle's mouthpiece.
How do You Make a Dab Rig with an Old Bong?

The most straightforward approach to relish dabs without a rig involves repurposing an old flower bong or water pipe. All required is a nail and an adapter that will snugly fit into your flower bong. If your flower bong is female and the nail is male, and they share the same joint size, you can slide them together as usual. In case there's a size mismatch, aluminum foil can be used to stabilize the setup. It facilitates the combination of different-sized joints with ease.
However, obtaining an adapter is often the simplest solution. If you possess a banger and a cute bong, determine the joint sizes of both items and verify their genders. Adapters are impressively affordable and are available at headshops for roughly $15. They prove to be beneficial, particularly if you frequently find yourself needing a rig.
How Do You Make a Mason Jar Dab Rig?

One simple and unique way to create your own dab rig is by utilizing a mason jar. Many people likely have a mason jar or a similar container in their homes. This common household item can be transformed into a personalized dab rig, perfect for enjoying your cannabis. Below are the materials required to craft your own Mason jar dab rig:
- Mason jar with its lid
- Blowtorch
- Plastic pen
- Flexible straw
- Titanium nail
- Aluminum foil
Now, follow these instructions to create your Mason jar dab rig:
To begin, drill two holes of approximately the same size on the lid, ensuring they are aligned with each other.
Wrap the plastic pen in aluminum foil and place it into one of the holes on the lid. This will serve as a downstem.
Next, insert your titanium nail into the foil-covered pen. Secure the point where the nail meets the lid with either more aluminum foil or glue.
Insert the flexible straw into the second hole. Secure the straw to the lid with aluminum foil, making sure it's tight enough to prevent air from escaping. This will function as your water pipe.
Once everything is in place, fill the jar with water and you're ready to start enjoying your preferred strain by dabbing.
How do you Make a Homemade Carb Cap?

If your carb cap has been misplaced or damaged, don't fret; numerous household items can be improvised into a temporary carb cap. Although these makeshift alternatives may not be as efficient as a conventional carb cap, they can effectively enhance the flavor of your dabs and reduce waste during your session. Feel free to utilize items such as the lid of a silicone pick or a metal grinder. The base of an empty glass dab container shot glasses, and coffee mugs can also serve as viable options. Even a metal beer cap or a perfectly flat rock can be used in a pinch. After inserting your dabs, position these items atop your banger. However, ensure you manually adjust them to prevent obstructing the airflow.
What Can You Use as a Homemade Dabber?

Should you misplace your dab tool, there are various domestic alternatives at your disposal, such as metallic paperclips, plain bobby pins, table knives, metallic nail buffers, flat-edged screwdrivers, or metallic manicure files. It's crucial to ensure their cleanliness prior to and following their usage and refrain from using any items featuring a plastic layer on a dabbing surface. The inhalation of plastic can pose harmful health risks.
Advantages & Disadvantages of Homemade Dab Rigs
Benefits of Homemade Dab Rigs:
- Customization: You can tailor the rig to fit your specific needs, from the type of GPU to the kind of storage, RAM, processor, etc.
- Cost-Effective: You can save money by purchasing and assembling individual parts.
- Learning Experience: It can be an educational experience, helping you learn about different components and their functions.
- Upgradability: Upgrading specific components in a homemade rig is more accessible than replacing an entire pre-built system.
- Performance: You can often achieve better performance with a homemade rig as you can opt for high-performance parts.
Disadvantages of Homemade Dab Rigs:
- Time-consuming: Building a rig from scratch requires significant time, especially for beginners.
- Technical Knowledge: You need to understand computer components and how they work together.
- No Warranty: Unlike pre-built systems, homemade rigs don't have a comprehensive warranty. Each part may have its security, but if something goes wrong, it's up to you to figure out what part is faulty.
- Compatibility Issues: There can be compatibility issues between different parts, which might only be apparent after you've bought them.
- Risk of Damage: There's a risk of damaging components during installation, especially if you're not experienced.
The advantages and disadvantages vary depending on the type of homemade rig you're referring to for gaming, mining, etc. If you have any doubts about the homemade dab rigs, you can check these electric dab rigs.
Always exercise caution when using homemade devices, especially when heat is involved. Never leave your heated rig unattended; always ensure it has cooled down before handling.
Regardless of whether you're a novice to dabbing looking to purchase your first electric dab rig, or a seasoned connoisseur seeking to expand your collection, understanding the intricacies of selecting the appropriate dab rig is crucial. This could even apply if you're intending to fabricate one yourself at home. This manual offers comprehensive instructions on how to construct a homemade dab rig, allowing you to economize by utilizing items you already possess.