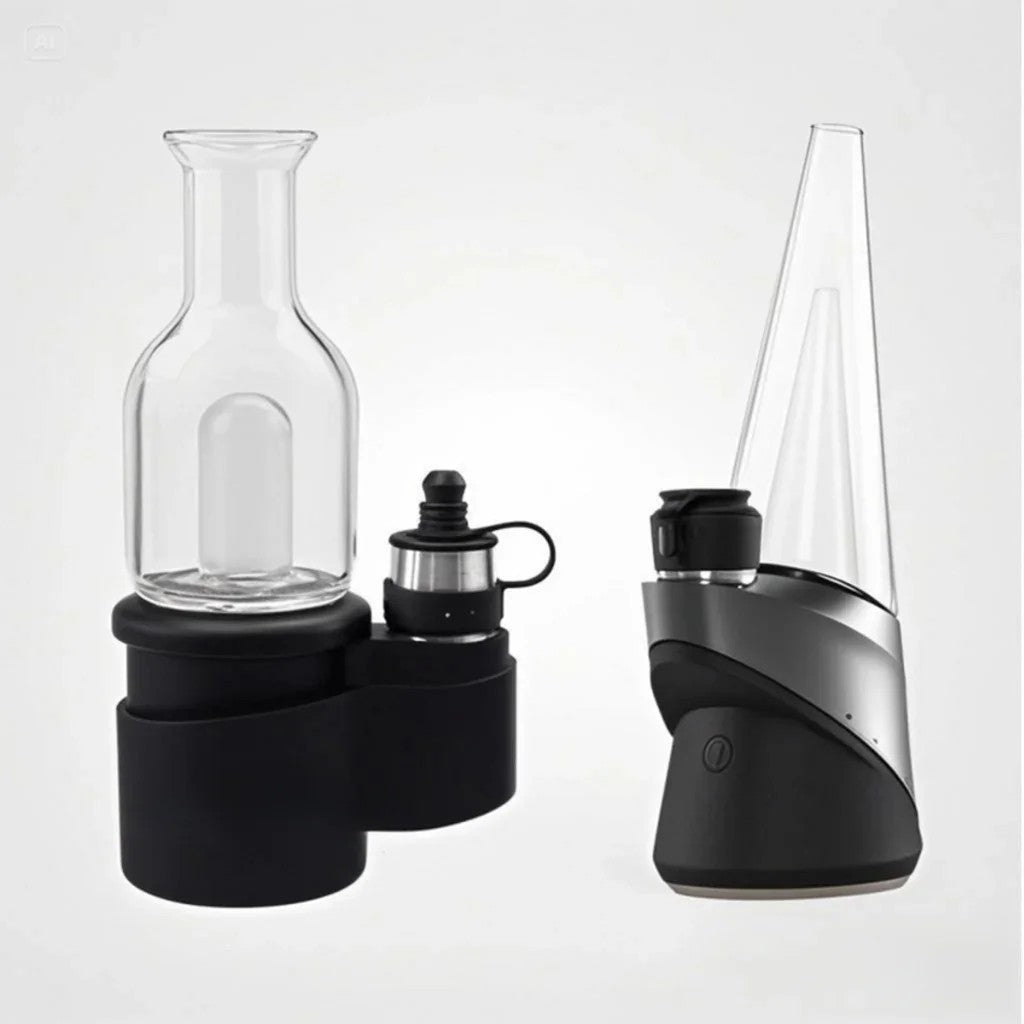
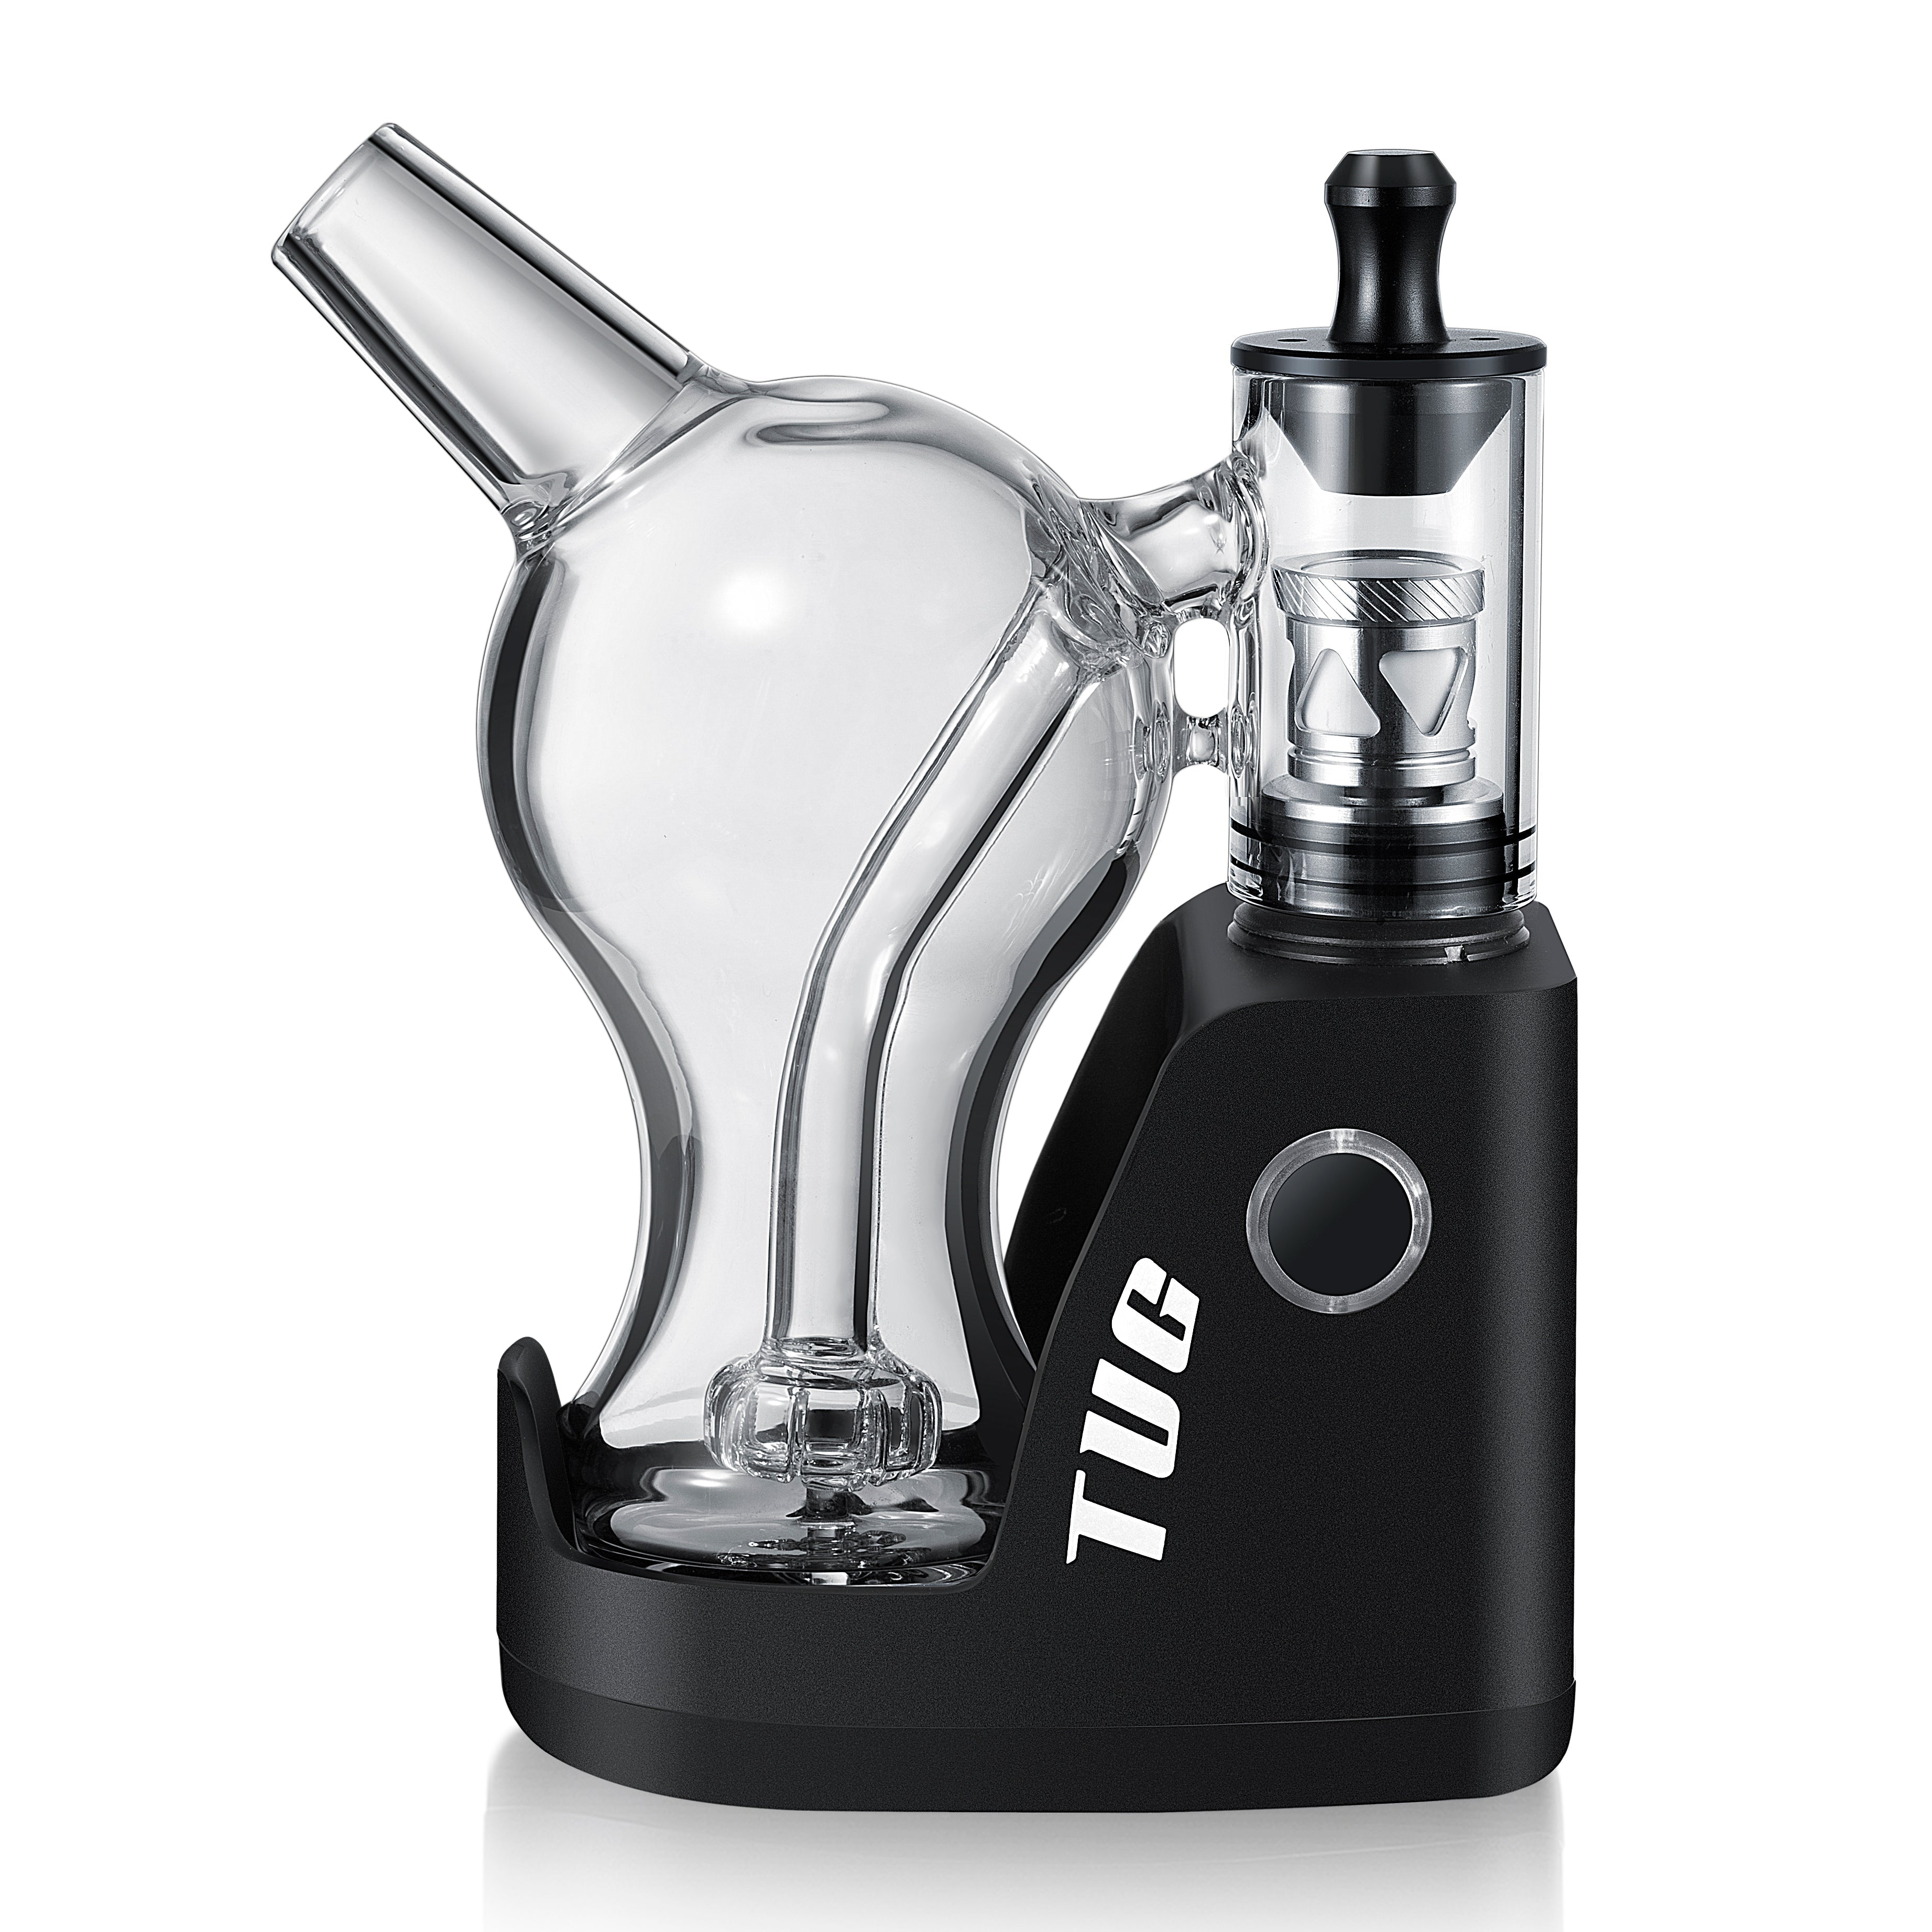
If you're new to dabbing, knowing how to clean a portable dab rig can seem difficult and complex. The best way for the dab rig cleaning solution has always been a question mark for many of us. The cleaning process seems daunting, yet we all know how quickly wax and other impurities build up inside the rig. Dab rigs don't seem to be only simple smoking sets at first glance. To watch some people, torch their dabs can be a bit scary. We're here to tell more details for you.
In this blog, you'll learn how to clean mini dab rigs. Now, torch up and continue reading to become a dabbing rig expert!
Why Is It Important to Keep Your Dab Rig Clean?

A clean dab rig isn’t just about aesthetics—it’s crucial for performance, safety, and enjoyment. Here’s why regular maintenance matters:
1. Health & Safety
Residue buildup can harbor harmful bacteria and mold, which you risk inhaling with each dab. A clean rig ensures you’re only vaporizing pure concentrates, not contaminants. Additionally, a dirty nail or banger can create uneven heating, leading to hot spots and potential accidents.
2. Pure, Unadulterated Flavor
Old reclaim and charred residue can overpower the natural flavors and terpenes of your concentrates, leaving a harsh, burnt taste. Regular cleaning guarantees the true essence of your dabs shines through with every hit.
3. Longevity & Performance
Resin buildup can clog airflow, disrupt heat distribution, and even corrode components over time. By keeping your rig clean, you ensure optimal efficiency, prevent unnecessary wear, and extend its lifespan—saving you money on replacements.
4. Smoother, More Efficient Sessions
A clean rig means better airflow and even heating, allowing for full, flavorful vaporization without wasted product. No more struggling with weak hits or burning through extra concentrate to get the desired effect.
5. A More Enjoyable Experience
A pristine rig is not only more pleasant to use but also reflects responsible ownership. Whether you’re dabbing solo or sharing with friends, a clean setup enhances the ritual and makes every session more satisfying.
Regular cleaning isn’t just maintenance—it’s an investment in better flavor, smoother hits, and a safer, longer-lasting rig. Keep it fresh, and your dabs will thank you.
How to Clean a Dab Rig?

Whenever water is involved, the mould must be there together. Even if you pour out the water from your small dab rig and refill it each time you dab, there is still moisture inside the mini dab rig. As time passes, fungi and other bacteria will grow inside, and the last thing you want to do is use any of your dab rigs. Regular cleaning of your small dab rig and also changing out the water inside each time will help you avoid mould. Clean your dab rig is simple, and you’ll likely have experience doing it with other items. Check out the steps below.
Step 1: Prepare Your Supplies
You’ll need a handful of supplies to make the job easier when you’re cleaning your portable dab rig. We have a few recommendations on what to use for your dab rig, and here is a list of them:
A substantial amount of isopropyl alcohol (rubbing alcohol)
Table salt, rock salt, or sea salt
A plastic bag
A funnel
A cleaning cloth, preferably something that’s microfiber or similar
A cotton swab(s), such as our Iso-Snaps, for hard-to-reach places
A second microfiber cloth for drying the rig (avoid using a paper towel)
With these cleaning materials at hand, it's time to dive into the task of tidying up.
Step 2: Disassemble Your Dab Rig
When you plan to clean your dab rig, prepare the cleaning solution first. Mix the solution until the salts have entirely dissolved in the alcohol and salt mixture. Then, please take your dab rig apart and fill it with the solution.
Step 3: Soak Your Accessories
Please put all of the accessories in the solution and let them soak for at least 15 minutes. That is more than enough time to get any resin dislodged from them. If there are any other unwanted substances, it will come off as well. If you cannot submerge your rig then you'll want to fill it instead and use caps to plug the mouthpiece and joint.
Step 4: Follow up with Soap & Water
Although the cleaning solution will eliminate at least 99% of the gooey substances, following up the procedure with mildly warm soapy water will ensure your rig is perfectly clean. Pour the soapy water into the rig and cap it to prevent the solution from spewing all over your kitchen. You can shake it for a couple of minutes before pouring the water into the sink.
Instead of using mildly warm water, you can use one at room temperature. That way, you can ensure that you do not risk cracking your glass because the water was too cold or hot.
Step 5: Clean the Intricate Parts
Other parts of the dab rig are hard to reach, and you may need to handle them differently. You can use a cleaning brush to get to those spots and brush the goo and resin off. And if the spots are not clean enough afterward, you can soak the cleaning swabs in isopropyl alcohol and use it to remove the substances. Either way, the results will be excellent.
You should also do the same with the accessories after removing them from the previous solution you soaked them in.
Step 6: Rinse the Dab Rig for Deep Clean
To make your dabbing tool spotless clean, you should rinse it in clean water at room temperature for at least 2 minutes. It will remove the dislodged resin and other substances from your rig if there are any left (the chances are minimal). And more importantly, it will remove any traces of the cleaner you used.
Step 7: Dry Your Dab Rig
It would be best to ensure the dab rig is completely dry before you use it again. Usually, the first time you use it after cleaning is a great experience. But you can only ruin that experience if the rig is dry. And worst still, the glass may break.
How to Clean a Dab Rig without Isopropyl Alcohol?

Cleaning a dab rig without isopropyl alcohol can be a bit tricky, but here is a method you can try using vinegar and baking soda:
-
Remove all the removable parts: Just like any other cleaning process, start by disassembling your rig. Remove the nail and the downstem, and set them aside for separate cleaning.
-
Empty and rinse your rig: Pour out the old water and give your rig a quick rinse with hot water. This will remove any loose debris.
-
Add vinegar: Fill your rig with white vinegar, enough to submerge all the dirty areas. The vinegar will help break down the sticky resin left behind from the dabs.
-
Add baking soda: Add a few tablespoons of baking soda to your rig. The baking soda will react with the vinegar, causing it to fizz and help in removing the resin.
-
Shake and soak: Cover the openings of the rig and shake it a bit to mix the vinegar and baking soda. Then let it soak for about 20-30 minutes.
-
Shake again: After soaking, give it another shake to loosen up any remaining debris.
-
Rinse: Rinse your rig thoroughly with warm water. Make sure all the vinegar, baking soda, and loosened resin is completely washed out.
-
Clean removable parts: Repeat the same process for the nail and downstem.
Remember, this method may not get your rig as clean as isopropyl alcohol would, and you may have to repeat the process for heavily soiled rigs. Be sure to rinse thoroughly to avoid any leftover vinegar taste.
Disclaimer: Not all materials are safe to clean with vinegar and baking soda. Make sure your dab rig is made of a material that won't react negatively with the vinegar.
How to Clean a Silicone Dab Container?
![]()
Here are the steps to clean a silicone dab container:
-
Empty the Container: Make sure to remove any leftover contents from the dab container.
-
Warm Water: Fill a bowl with warm water.
-
Add Dish Soap: Add a few drops of mild dish soap to the water.
-
Soak: Place your silicone dab container in the warm soapy water. Let it soak for about 15-20 minutes.
-
Scrub: After soaking, use a soft brush or cloth to gently scrub the container. Make sure to clean the inside as well as the outside.
-
Rinse: Rinse the container thoroughly under warm running water to remove all soap residues.
-
Dry: After rinsing, dry the container with a clean towel or let it air dry before using it again.
-
For Stubborn Residue: If there are any stubborn residues that didn't come off during the initial cleaning, you can use a solution of isopropyl alcohol (90% or higher) and coarse salt. Simply fill the container with this solution, shake it well, and then let it sit for about 10-15 minutes. After that, rinse and dry as usual.
-
Regular Cleaning: It's a good idea to clean your silicone dab container regularly to maintain its quality and longevity.
How to Clean a Dab Rig Banger?

Here is a simple process for cleaning your dab rig banger:
Step 1: Gather Your Supplies
You'll need:
-
91%+ isopropyl alcohol
-
Coarse salt (for scrubbing power)
-
Cotton swabs
-
Ziploc bag
-
Dab tool or pipe cleaner (for tough buildup)
Step 2: Remove & Cool Down
Carefully detach the banger from your rig. Important: Make sure it's completely cool to avoid burns or thermal shock to the glass.
Step 3: Pre-Clean
Use a cotton swab or dab tool to knock off any loose residue. Be gentle—no scratching!
Step 4: Alcohol & Salt Soak
-
Place the banger in a Ziploc bag
-
Submerge it in isopropyl alcohol
-
Add 1 tbsp coarse salt (your natural abrasive)
Step 5: Shake & Break Down Residue
Seal the bag and shake gently for 30-60 seconds. Let it soak for 30+ minutes—the alcohol dissolves buildup while the salt scrubs tough spots.
Step 6: Rinse & Dry Thoroughly
-
Remove the banger and rinse under hot water
-
Ensure all alcohol/salt is washed away
-
Air dry completely before reattaching
Pro Tip for Maintenance
After each session:
-
Do a quick clean with an iso-soaked cotton swab
-
This prevents stubborn buildup and keeps flavors fresh
Why This Matters: Regular cleaning means better flavor, smoother hits, and a longer-lasting banger. Treat your gear right!
Happy Dabbing!
Now that you've mastered the art of cleaning your portable dab rig, you're ready to enjoy:
✓ Pure, flavorful hits every time
✓ Longer-lasting equipment
✓ A safer, smoother experience
Pro Tip: Make cleaning effortless by doing a quick wipe-down after each session. While it takes a moment, this simple habit prevents stubborn buildup and keeps your rig performing like new.
Share these tips with fellow enthusiasts - because nothing beats that first perfect hit from a freshly cleaned rig. Stay clean, dab happy!


