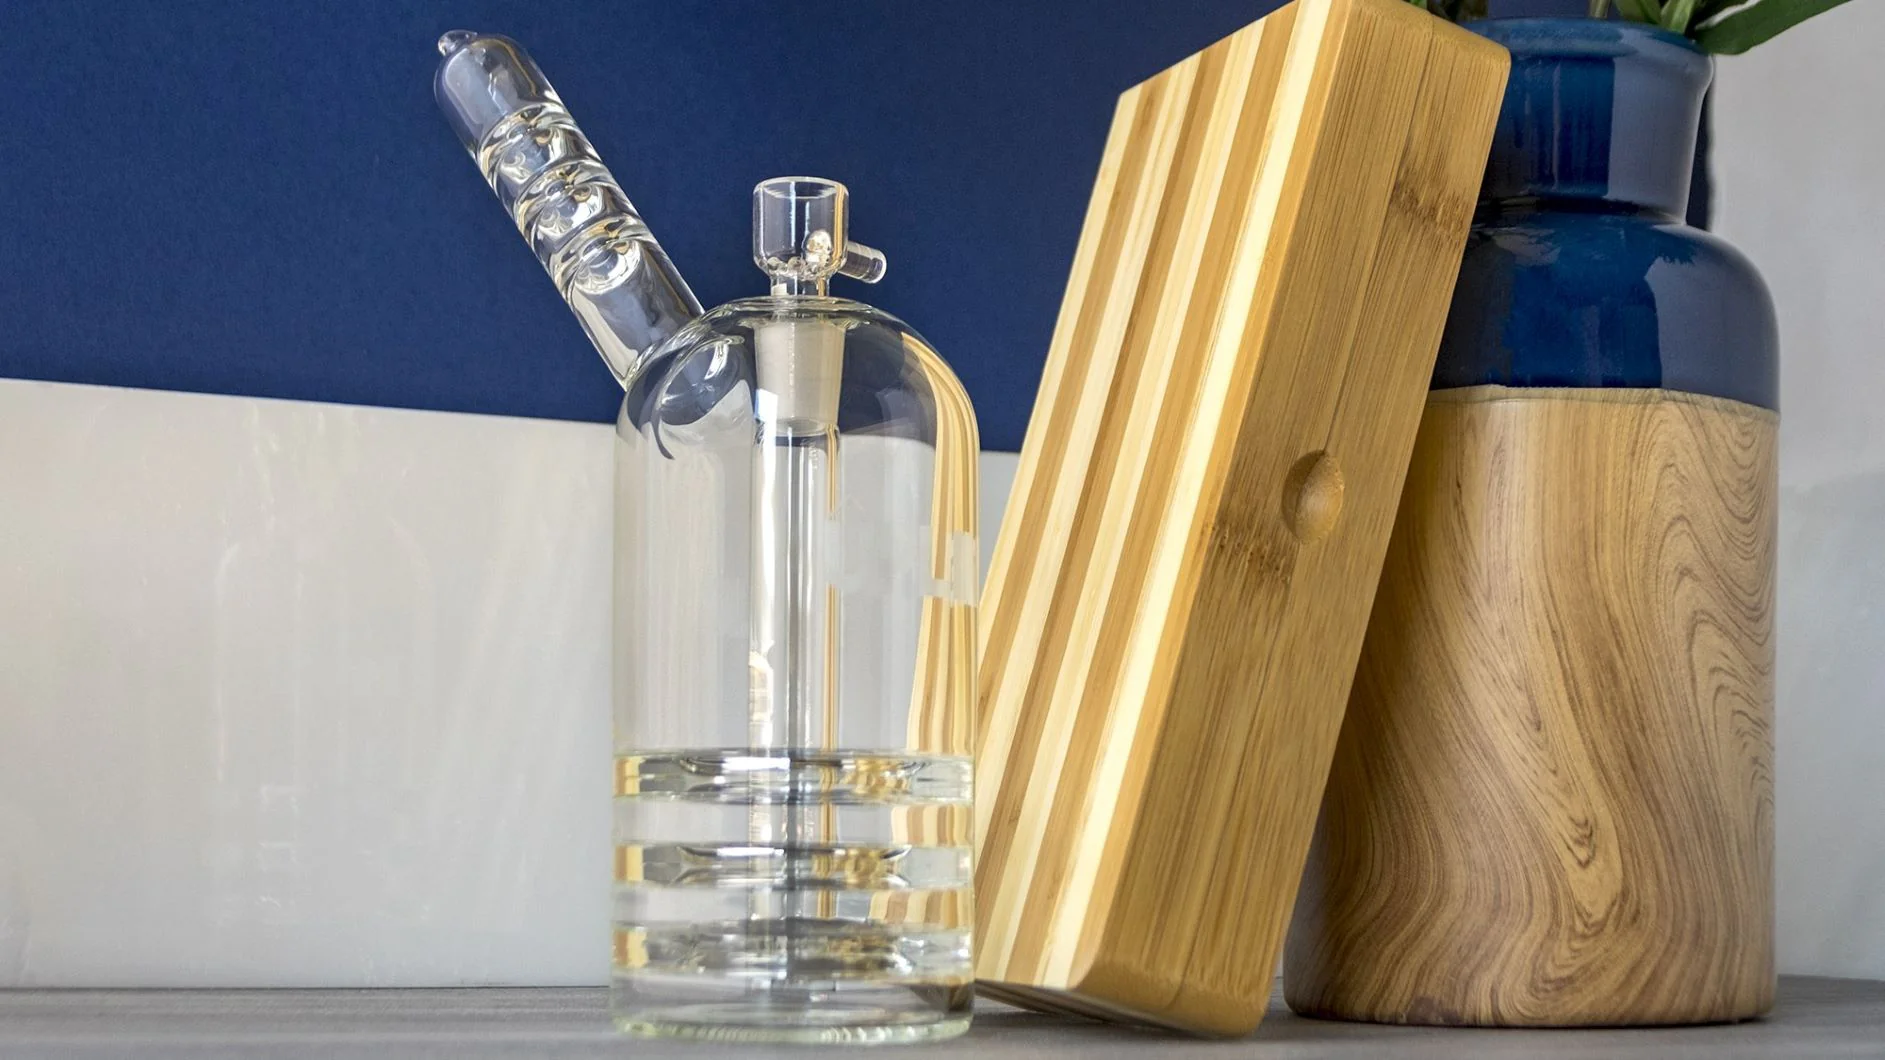
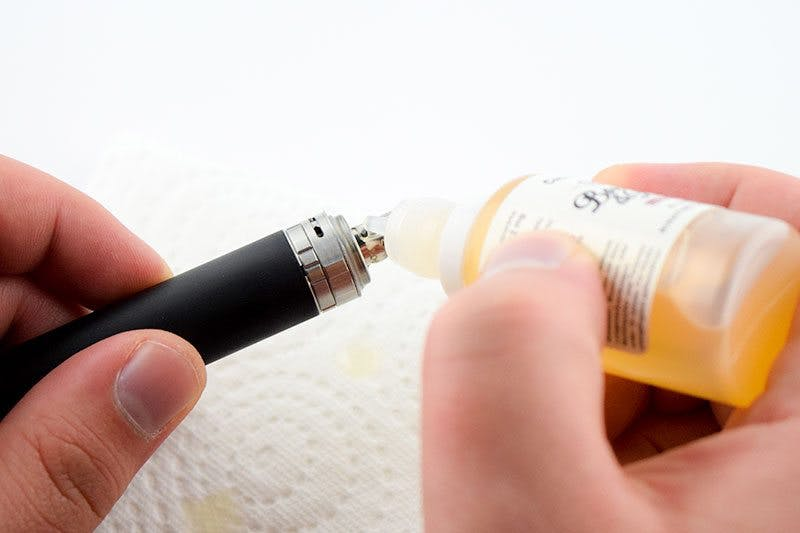
Whether you own electric dab rigs or manual vaping devices, regular maintenance and cleaning are essential to ensure that each dab vape session is as enjoyable as possible. However, the cleaning methods you employ will differ based on the specific type of device, its construction, and the cleaning solutions that are safe for use.
The nectar collector is one device that necessitates a deeper understanding of its maintenance. Are you the proud owner of a dab straw, or are you considering acquiring one soon? If so, here’s a detailed guide on how to clean these devices effectively, ensuring that every inhalation delivers the smoothest and purest vapors.

What Supplies Do You Need to Clean a Nectar Collector?
Before embarking on the cleaning process, it's crucial to gather all necessary products and tools. Having everything prepared in advance will streamline the experience—think of it as gathering all your ingredients before cooking.
- Coarse Sea Salt: This salt is excellent for loosening and removing any residue that may cling to your nectar collector. Avoid using regular kitchen salt; opt for coarse salt, which is inexpensive and readily available.
- Isopropyl Alcohol: Also known as rubbing alcohol, this common household item is likely already in your home. It pairs well with coarse salt to help eliminate stubborn grime.
- Pipe Cleaners: These are your primary scrubbing tools. Pipe cleaners are gentle enough not to damage your nectar collector, making them an ideal choice for cleaning.
- Q-Tips: For areas that the pipe cleaner can't reach, Q-tips can provide a more precise cleaning option. They allow you to apply more pressure without risking harm to your device.
- Additional Materials: You'll also need plastic containers, warm water, and paper towels. These items will assist you in post-scrubbing. Sometimes, a quick rinse with warm water will suffice instead of a thorough scrub.
By following these guidelines and using the right supplies, you can maintain your nectar collector in top condition, ensuring every session is enjoyable and satisfying.
How to Clean a Nectar Collector
To start, ensure you have the necessary supplies ready. The first item on your list should be isopropyl alcohol, which is effective in breaking down residue, mold, and bacteria on all surfaces of the collector.
Additionally, prepare a mixture of salt dissolved in water as a secondary cleaning agent.
You will also need some Q-tips and a pipe cleaner to access those tricky spots. For a thorough clean, soaking will be essential.
For this purpose, gather some plastic bags—one for each component of your collector.
Lastly, hot water will be useful to complete the cleaning process. Running water can also work, but we’ll discuss that later.
1. Disassemble Your Nectar Collector
Before you begin, allow the collector to cool down. Carefully disassemble each part and arrange them in an orderly manner. Cleaning each component separately ensures that no pieces get damaged and that every part receives the focused attention it needs, as they accumulate residue differently.
2. Prepare Your Cleaning Solution
This is where the isopropyl alcohol comes into play. Pour some alcohol into a small container and, if available, mix it with the salt solution, stirring well. The salt aids in loosening the resin stuck to surfaces, and feel free to add more if you require extra cleaning strength.
3. Soak Each Part Individually
Pour the cleaning solution into plastic bags or another suitable container that fits the parts, allowing them to soak for 30 to 60 minutes. If your nail (the heated component that contacts the concentrate) is made from titanium, be sure to keep it away from the alcohol solution— we'll cover its cleaning method later.
The soaking time may vary depending on the intricacy of each piece and the level of dirtiness. Periodically check on them to determine when they're sufficiently clean. If one of your components is particularly grimy, don’t hesitate to let it soak overnight; there’s no rush!
4. Rinse the Solution Off
Once the soaking process is complete, it's time for rinsing. Place each component under a steady stream of running water, preferably hot, to ensure that all traces of cleaning solution and salt are eliminated. After rinsing, inspect each part of the nectar collector for cleanliness; some areas may require extra attention to achieve that pristine shine.
5. Utilize Q-tips or a Pipe Cleaner for Hard-to-Reach Areas
Handle this step with care, as certain components of the nectar collector can be quite delicate. Use a Q-tip dipped in your cleaning solution or plain water to gently scrub away any lingering dirt in crevices. If you strive for perfection, thoroughness during this stage is crucial for achieving complete cleanliness.
6. Rinse Again with Water and Allow to Dry
Give each piece one more rinse with hot water to finalize the cleaning process. This step is vital, as inhaling any remaining alcohol fumes can be hazardous. Ensure that all residues are thoroughly washed away before the nectar collector is removed from the cleaning area.
After rinsing, allow the components to dry completely. You can let them air dry overnight on a towel, or opt for paper towels, ensuring that they don’t disintegrate and create additional mess.
7. Clean Your Nail
If your nail is constructed from quartz, clean it just like any other part, as this material withstands the cleaning solution well. However, if your nail is made of titanium, be cautious; the cleaning solution you’ve prepared could damage its protective coating.
Cleaning a titanium nail can be tricky and may require its own specific instructions. For now, use gentler, preferably natural cleaning solutions along with a soft brush to remove any stubborn residue.
8. Reassemble Your Nectar Collector
Once all parts are clean and dry, you can reassemble your nectar collector and get back to dabbing. Before heating it, take a quick sniff to ensure there are no lingering alcohol odors. If you detect any, rinse the parts again and allow them to dry completely.
Is Cleaning Glass and Silicone the Same Process?
The short answer is both yes and no. If you're dealing with a silicone item instead of glass, soaking it can effectively clean it after a designated period. However, there’s an alternative method for cleaning silicone. Instead of soaking, you can detach the tip and place it in the freezer for about four to six hours, or even overnight. Once removed, the silicone will be frozen and firmer than usual. By squeezing it, you can break apart any stubborn residue, making it easier to remove compared to traditional soaking and scrubbing. Unfortunately, with glass items, soaking remains the only viable option for removing residue.
While this may seem obvious, cleaning methods for electronic devices differ from those described above. Typically, electronic nectar collectors have detachable tips that can be cleaned as mentioned, but their bodies may not be suitable for soaking. If you opt for an electronic nectar collector instead of a glass or silicone one, it's crucial to research the specific construction of your device. Understanding how to clean it properly can prevent accidental damage to your costly equipment.
Just like other glass items such as bongs, pipes, and dab rigs, regular cleaning of your nectar collector is essential. This ensures optimal performance, guarantees a clean vapor hit with each dab, and helps to avoid the risks of mold and bacterial growth.
How Often Should I Clean My Nectar Collector?
A common question is how frequently one should clean their nectar collector. The simple guideline is to aim for a thorough cleaning every 3-6 months. This timeframe can serve as a practical benchmark, and you might find it convenient to align it with your oil change schedule (if you use conventional oil). However, remember that this is just a general estimate; the actual frequency of cleaning depends on your usage. The more frequently you use the device, the more often it will require cleaning. Additionally, while a deep clean is advisable every three months, you should rinse your device after every few sessions for optimal maintenance.
Final Thoughts
If you're unsure about how to properly clean your nectar collector and want to ensure you're doing it right, the guide above provides insights into the necessary tools and materials. It outlines the steps to remove built-up residue effectively and offers tips to avoid damaging both manual and electronic nectar collectors during the cleaning process.


