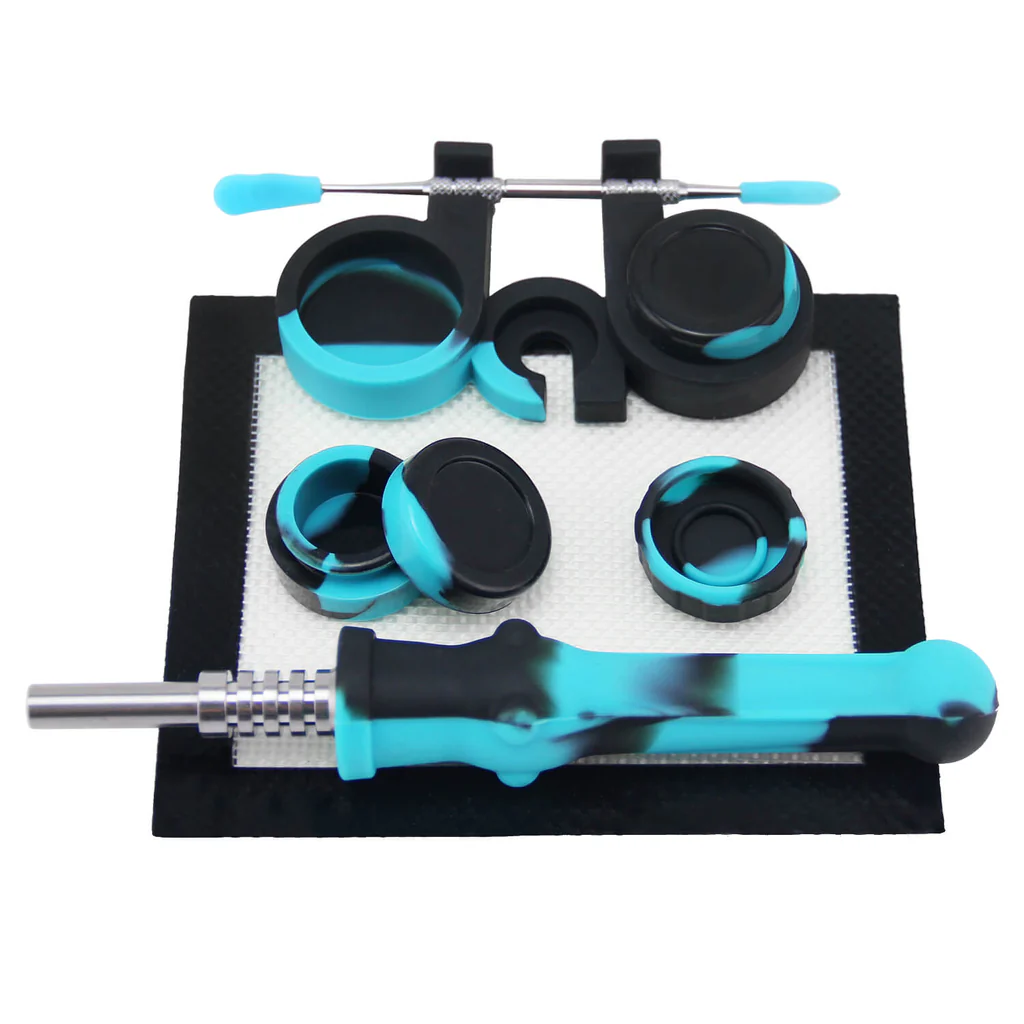
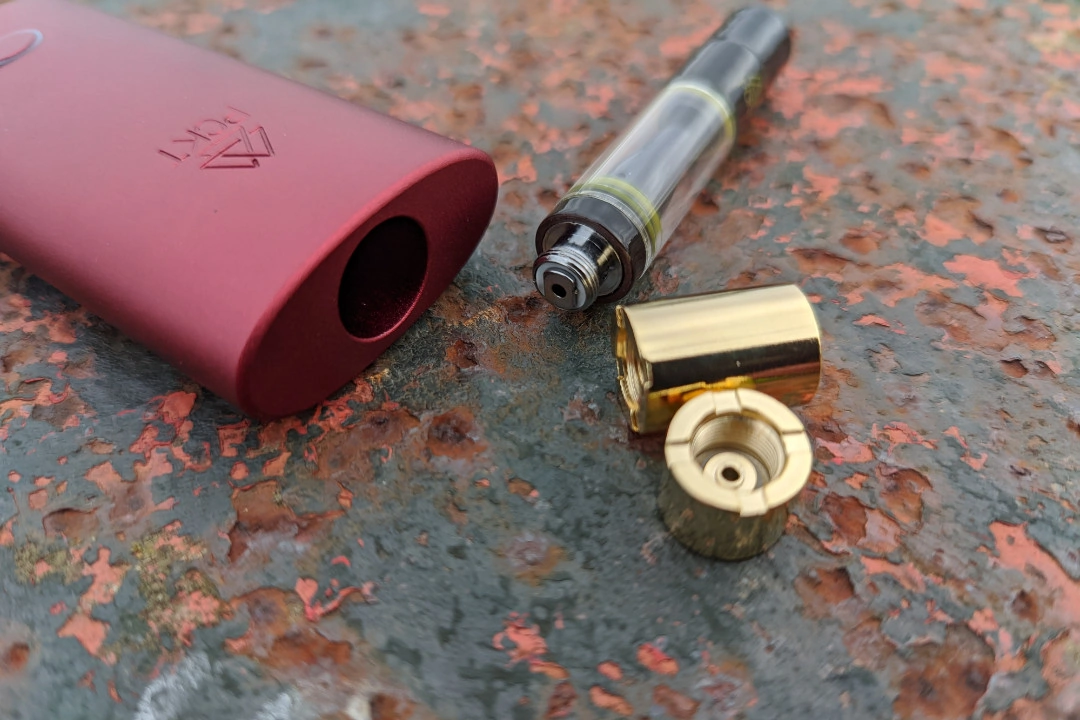
Once you begin using a vape pen, you'll quickly discover the numerous advantages of this consumption method. Vaping is discreet, potent, and incredibly convenient for on-the-go use. Before long, you may ask how to clean your vape properly.
Regularly cleaning your vape pen is an excellent way to extend its lifespan. Additionally, it ensures optimal performance and promotes safe usage. So, what are the most effective methods to maintain your portable vaporizer and keep pace with your vaping habits? Continue reading for a comprehensive step-by-step guide on how to clean your vape pen, complete with essential tips and best practices.
Why Is It Essential to Clean Vape Pens?
Maintaining a regular cleaning routine for your vaping device offers a multitude of benefits. For starters, it enhances the longevity of your pen by preventing the buildup of oils and residues that can damage its intricate components. Here are some additional advantages of cleaning your vape pen:
Reduces the Need for Replacement Parts: Failing to clean your device regularly can lead to compromised power connections and shorter battery life. By adhering to a daily or weekly cleaning schedule, you can safeguard the durability and efficiency of your device, minimizing unnecessary purchases.
Enhances Safety: Cleaning helps mitigate the risks associated with accumulating old cannabis oil and extracts. While vaping is often considered safer than smoking, inhaling stale and contaminated cannabis material can still pose health risks.
Boosts Performance: A clean vape pen promotes smoother draws and improved hits by preventing airflow blockages caused by clogs.
Cleaning your vape pen is straightforward and requires minimal time, making it easy to incorporate into your routine. To facilitate the process, keep a small bottle of isopropyl alcohol and some cotton swabs nearby whenever you vape. This way, you'll always be prepared to maintain your device's cleanliness and functionality.

A Step-by-Step Guide to Cleaning Your Vape Pen
Let’s get started with a comprehensive guide on how to clean your vape pen, step by step. Before diving into the cleaning process, we’ll discuss why this maintenance is crucial and share some best practices to ensure success.
Step 1: Power Down and Dismantle
Begin by turning off your vape pen. Carefully disassemble the device into its components. Although designs may vary, your goal is to access all areas where residue may accumulate by unscrewing the relevant parts.
Step 2: Clean the Interior
Take a cotton swab and lightly moisten it with isopropyl alcohol. Use this swab to carefully clean any internal areas of the vape pen that have accumulated residue. Be cautious not to over-saturate the swab, as excess alcohol may leak into the device's mechanics and potentially cause a short circuit.
Step 3: Clean the Mouthpiece
Once the chamber is clean, take another cotton swab dipped in isopropyl alcohol and wipe both the interior and exterior surfaces of the mouthpiece.
Step 4: Tidy Up the Magnetic Adapters
Next, focus on the magnetic adapters. Use a separate cotton swab, lightly dampened with isopropyl alcohol, to clean the threads of the cartridge or mouthpiece, as well as the base of the adapter. Afterward, use a paper towel to dry all components before reassembling.
Step 5: Reassemble and Test
Once all parts are completely dry, carefully reassemble your device. Power it on and click the button to heat the device.
Congratulations! You’ve successfully learned how to clean your vape pen, allowing for safe and enjoyable use.

How to Clean Your Vape Pen Mouthpiece
The mouthpiece is a crucial component that comes into direct contact with your lips, making it essential to keep it as clean as possible. Due to the residues from the concentrates and your mouth, it can easily become the dirtiest part of your vape pen.
To maintain hygiene and reduce any health risks, follow this step-by-step guide to thoroughly clean your mouthpiece:
Step 1: Remove the Mouthpiece
Start by completely detaching the mouthpiece from the vape pen.
Step 2: Check Manufacturer Guidelines
Refer to the user manual to confirm that applying liquids to the mouthpiece won't void any warranties or harm its functionality.
Step 3: Wipe the Exterior
Using a cotton ball, pad, or Q-tip lightly moistened with isopropyl alcohol, wipe down the outer surface of the mouthpiece.
Step 4: Deep Clean (If Applicable)
If your mouthpiece is made of glass, consider soaking it in a small container filled with warm water, salt, and isopropyl alcohol for a more thorough cleanse.
Step 5: Rinse and Dry
Before reattaching the mouthpiece to your vape pen, rinse it thoroughly with warm water and ensure it is completely dry.
Next Steps: Deep Cleaning Your Vape Pen Battery
Now that your mouthpiece is clean, you can proceed to give the battery of your vape pen a thorough cleaning.
How to Thoroughly Clean Your Vape Pen Battery
Maintaining cleanliness in your vape pen battery is crucial, as it's a vital component that powers the device, enabling it to heat and produce vapor for inhalation. To ensure your battery remains in optimal condition, follow these steps:
- Detach the Battery: Carefully remove the battery from your vaporizer.
- Prepare Cleaning Material: Dampen a cotton ball, pad, or Q-tip with isopropyl alcohol.
- Clean the Connector: Gently wipe the battery connector where it interfaces with the cartridge. This area is critical for ensuring a solid connection to the heating chamber or pre-filled cartridge.
- Wipe the Power Button: Finally, lightly clean the power button of the vape pen to remove any residue and prevent clogging.
Is Drying Necessary?
While it may seem risky to use the device without drying, it is generally safe if you've used a minimal amount of alcohol.
Having covered the cleaning of your vape pen, including its mouthpiece and battery, the next step is to address the coils if your device is equipped with them.
How to Clean Vape Coils
A key distinction between the pre-filled vape cartridge and the wax or dab pen is the presence of coils used to heat the product. For refillable devices with coils designed for concentrates and extracts, cleaning can be particularly challenging.
Your vape coils likely need attention if you notice:
- A burnt flavor in your hits
- Discoloration of the coils
- Signs of leaking
- A noticeable decrease in vapor production
Caution is essential: avoid getting the coils wet, as moisture can lead to burnout and prevent proper heating. While there isn't an ideal cleaning method for coils, replacing them is a cost-effective and straightforward solution when necessary.
To maintain optimal performance, we recommend changing your coils every 2-4 weeks, depending on usage. If replacing coils isn't an option, you can burn off any residual buildup by repeatedly heating the pen and inhaling until it's cleared.
How Regularly Should You Clean Your Vape Pen?
The frequency with which you should clean your vape pen largely depends on your usage habits. You may start to observe indicators such as components sticking together, diminished or burnt flavor, difficult draws, or even a completely clogged device. However, it’s best not to wait until these issues arise.
Establish a cleaning routine for your device to ensure optimal performance. If you use your vape pen frequently, consider cleaning it every night. For occasional users, a weekly cleaning might suffice. Alternatively, you could clean it each time you replace a pre-filled cartridge or refill the tank or chamber.
Remember, dedicating just a few minutes to clean your vape pen can significantly extend its lifespan and enhance your vaping experience.


